RM47085554674295634
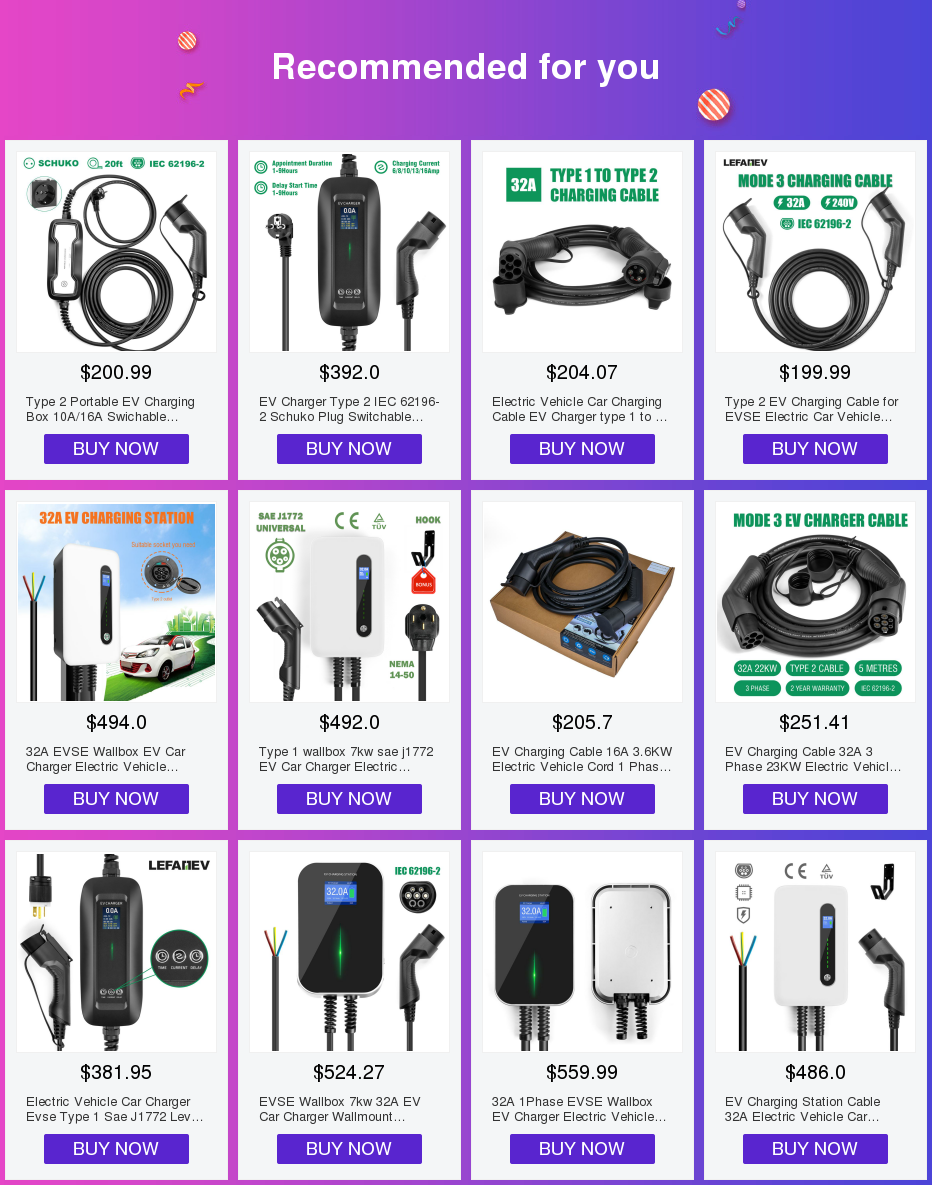
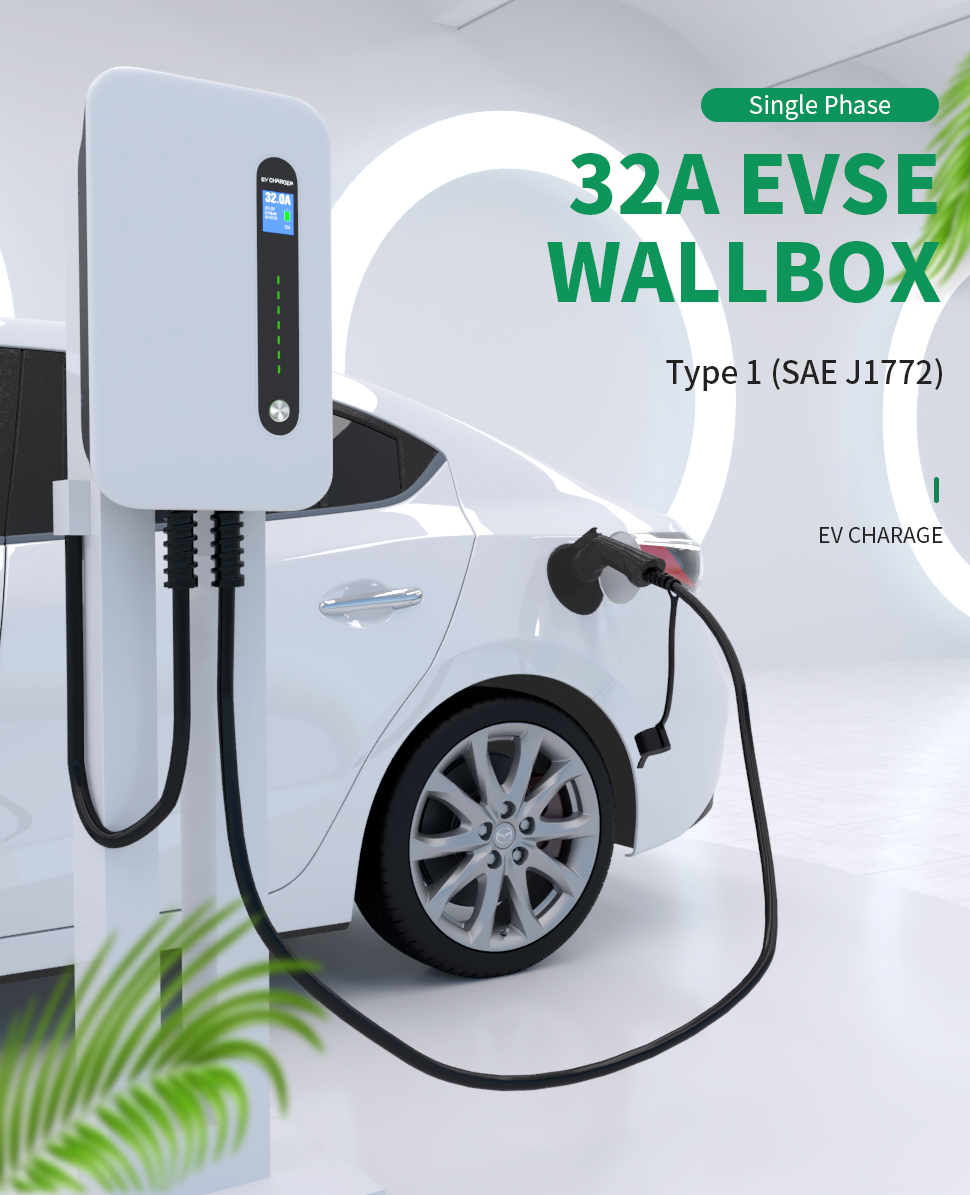
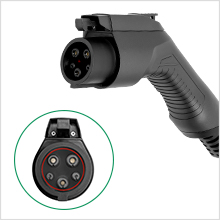
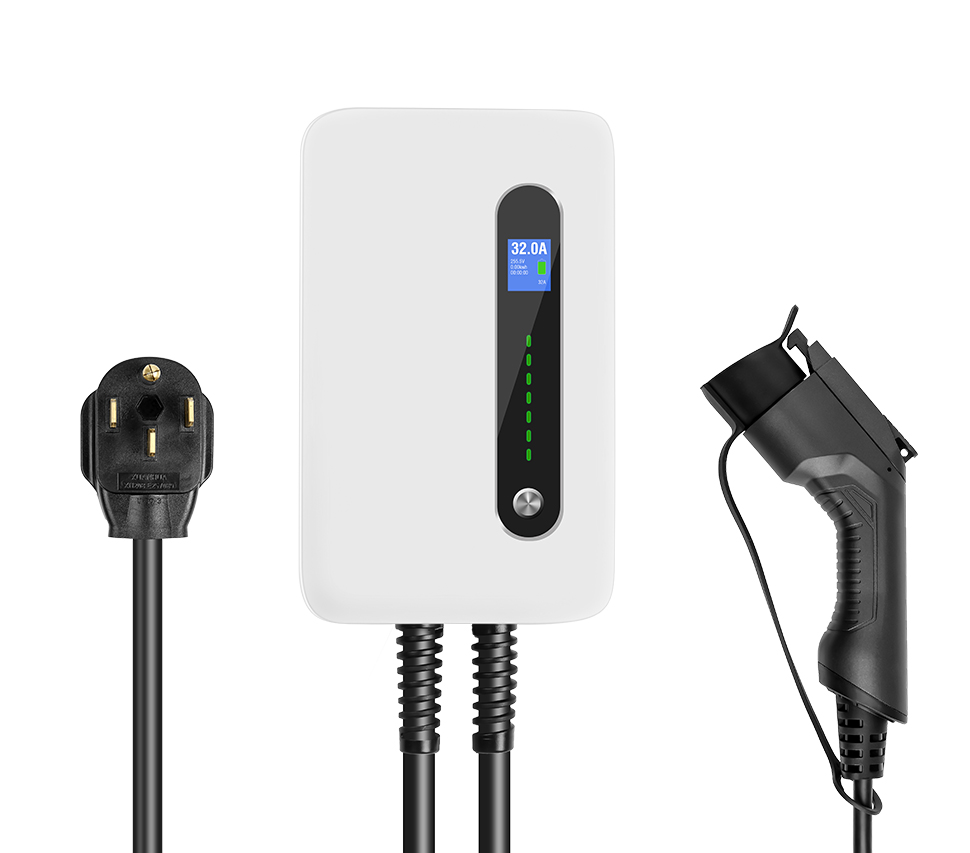
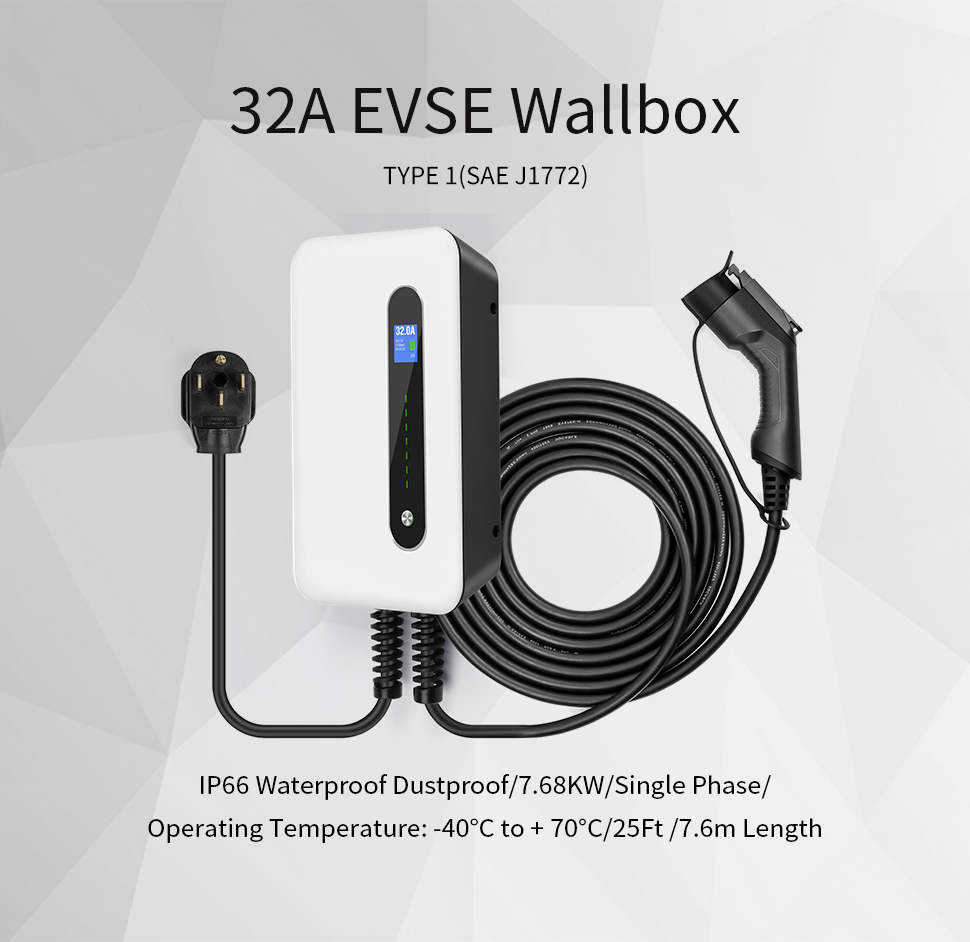
EV Car Charger Type 1 Cable Electric Vehicle Charging Station SAE J1772 32A 1 Phase Plug EVSE Wallbox Level 2 for Tesla EV Cars

-
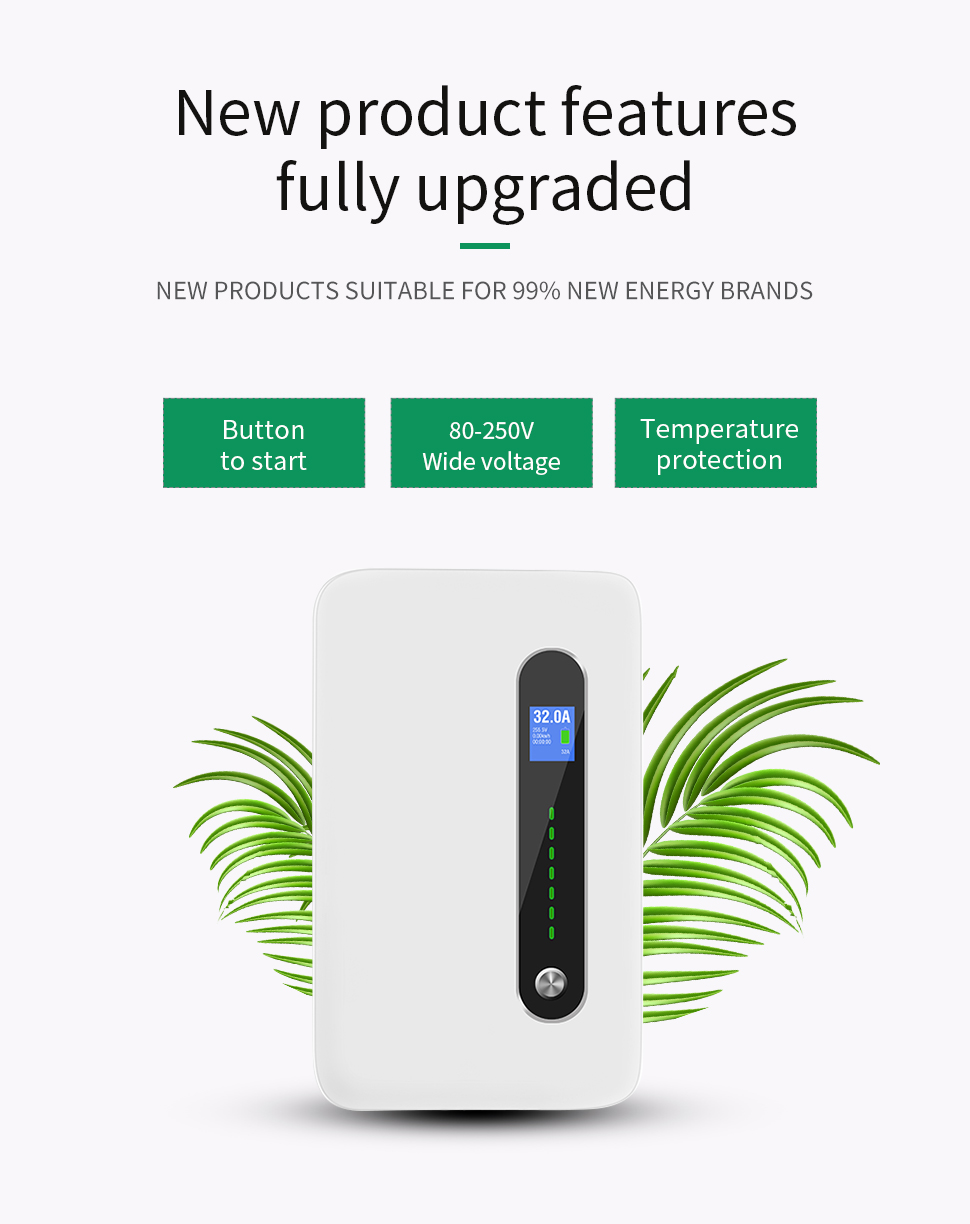
32 Amps, 240V, 7.6kw, Level 2 Home EV Charging Station
-
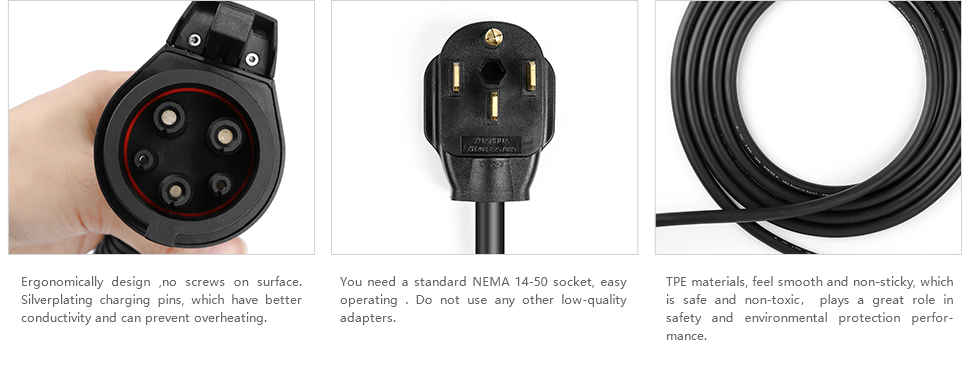
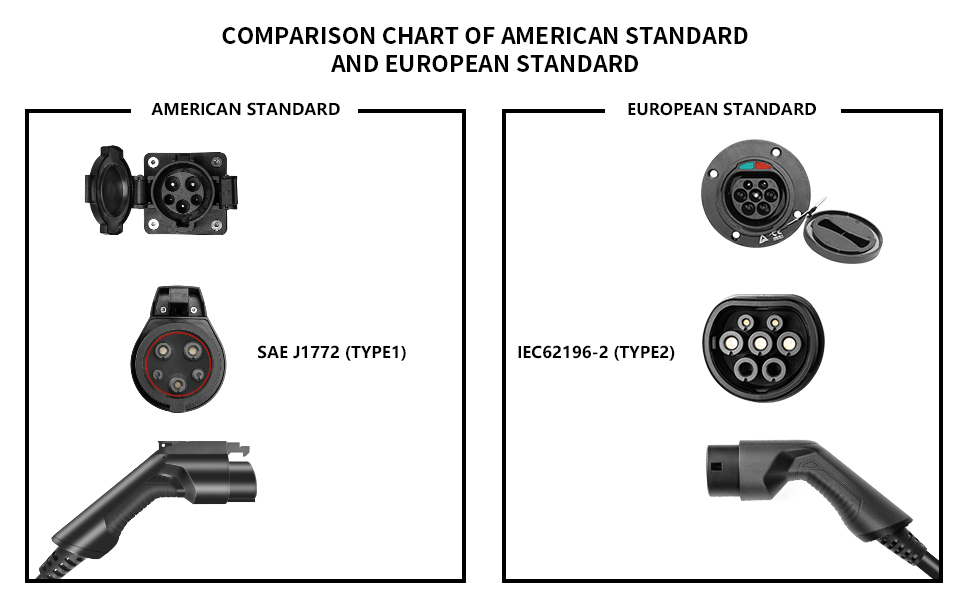
SAE J1772 Extension Cable - When you own an ev charging station or ev charger, you could use our extension cord.Our Extension Cable is capable of charging ANY modern electric vehicle in the US and Japan. Tesla cars require their J1772 to Tesla adaptor
-
NEMA 14-50 32Amp 125/250Volt 4-Prong Plug.Please Manually Set your charging limit to 24Amp in Tesla
-
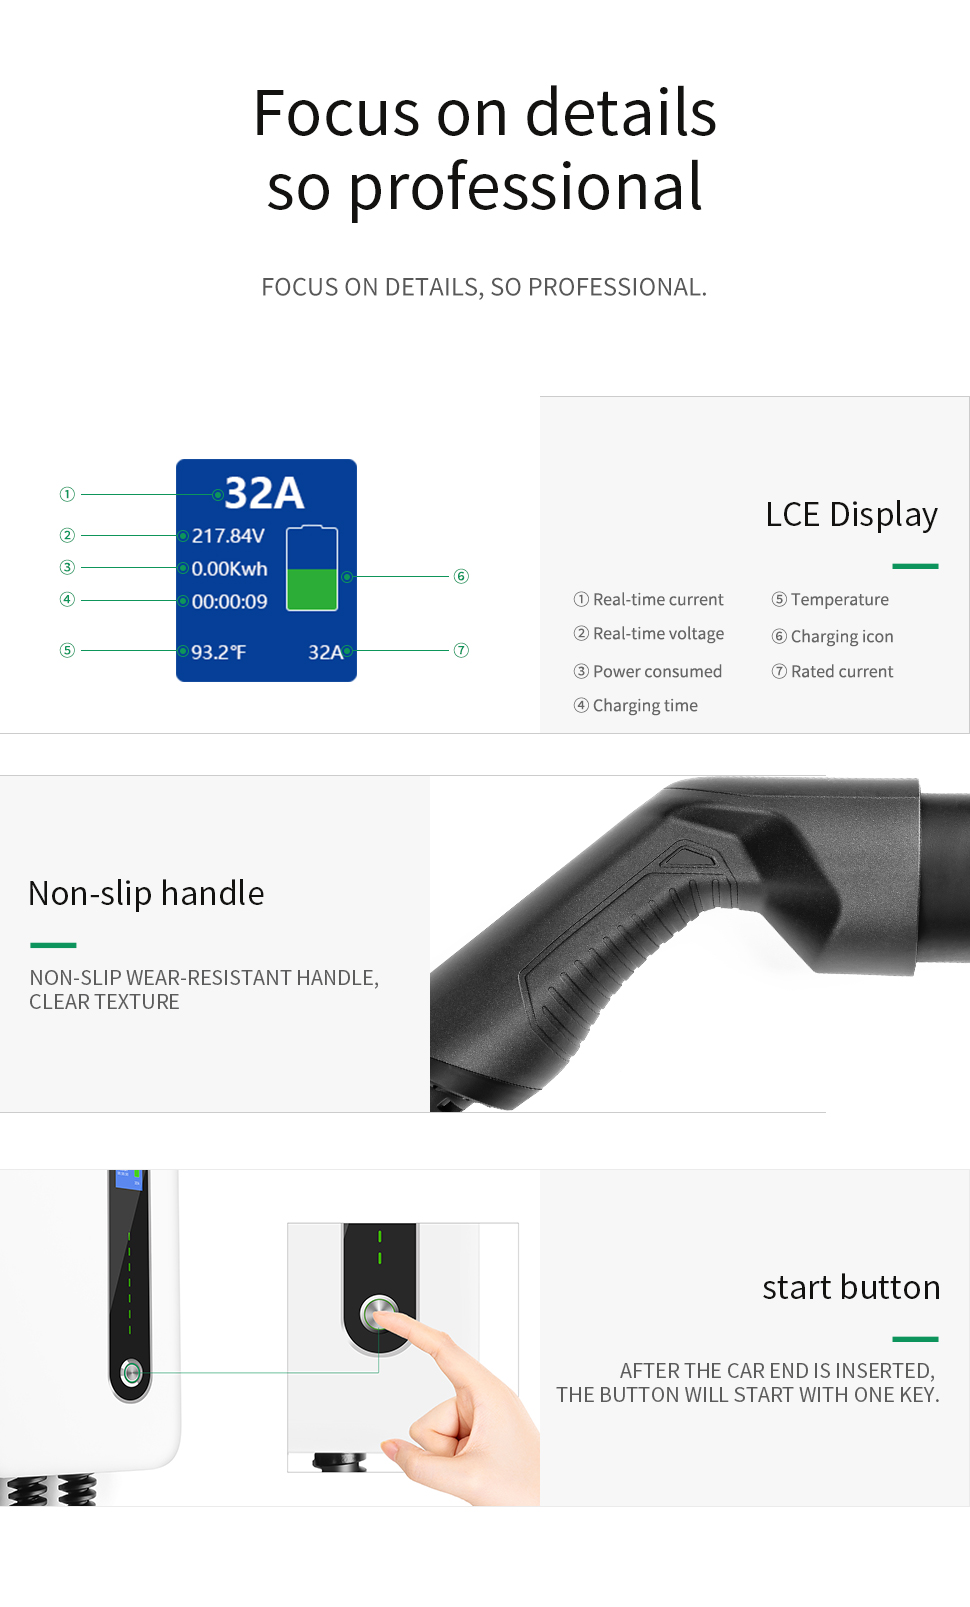
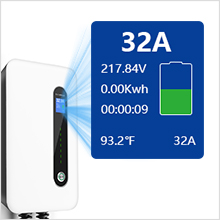
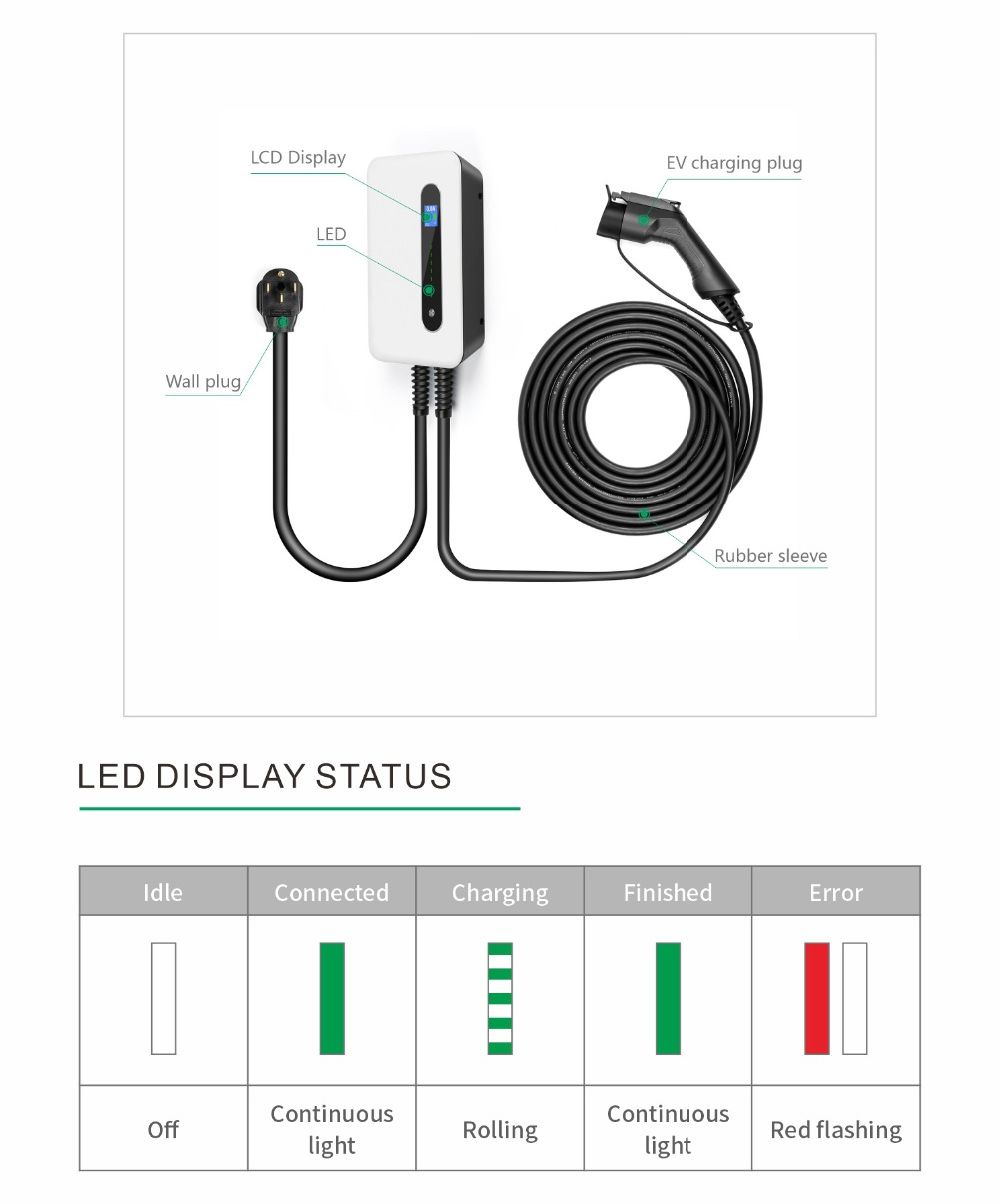
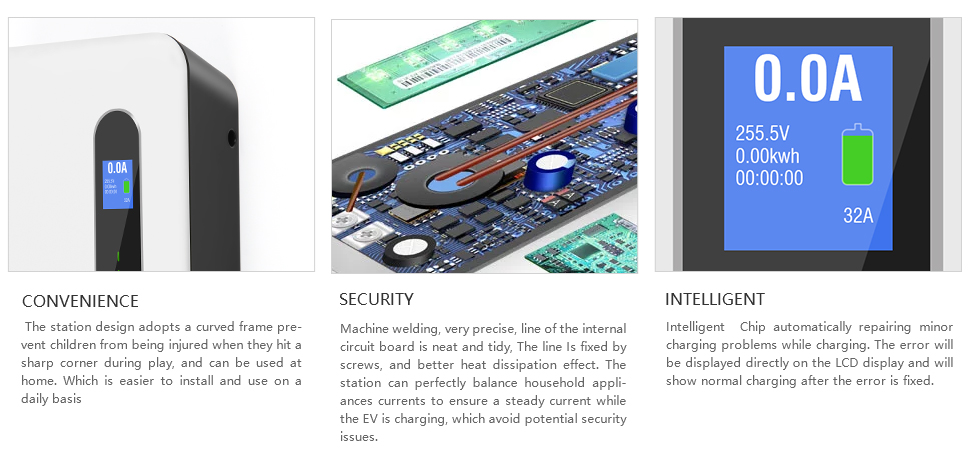
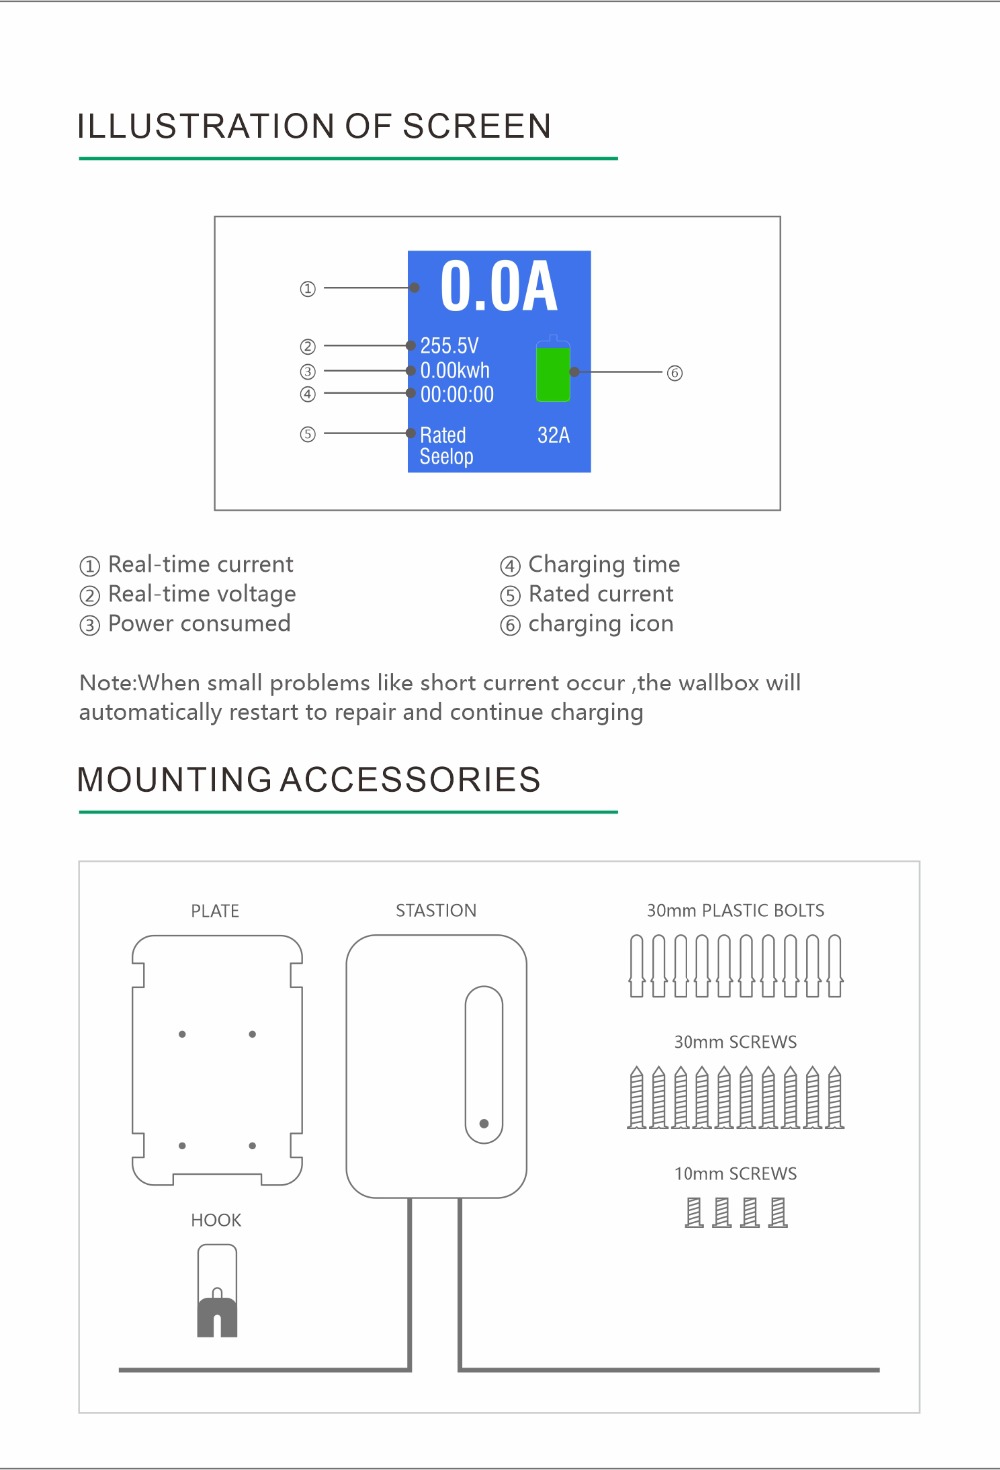
LCD to display all the car's data on the charging station during charging. You can see the state of charge, including current, voltage and temperature. The screws are fit into the box so you don't have to worry about the screen falling. The 20ft cable leaves enough space between your car and the charging station
-
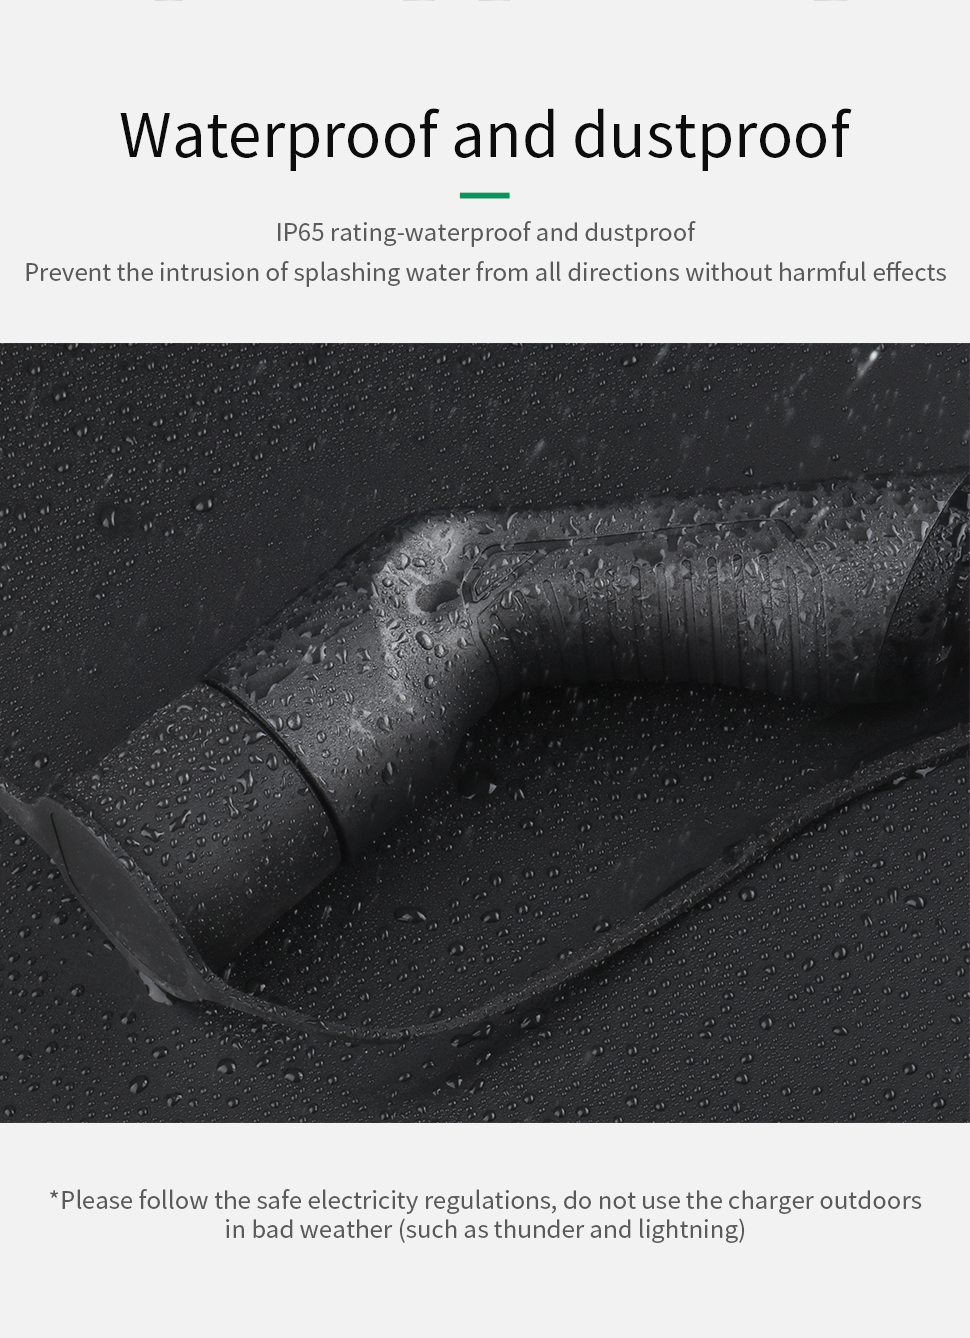
HIGHER QUALITY - Higher strength ABS material, which has better quality and can be used for longer; IP66 waterproof could be safer during charging.Electric Vehicle Adapter for Tesla

-
Installation Method: Wall/Stand
-
Mode: 2
-
Certificate: TUV, CE
-
IP Rating: IP66
-
Rated Voltage: 100V~250V
-
Rated Current: 32A
-
Maximum Power: 7.68KW
-
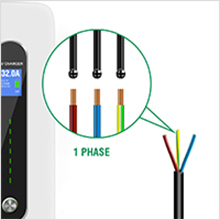
Phase Mode: Single Phase
-
Operating Temperature: -40°C to + ss"C
-
Enclosure Material: ABS+PC alloy
-
Length of Cable: 25Ft/7.6m
-
Diameter the electric wire: 2*8mm²+1*6mm²

-
EV charger *1
-
User manual *1
-
Installation drawing *1
-
Setscrew *4
-
Metal backboard *1
-
Key *2
Type 1 suitable for EV as below:
Chevrolet Volt, Citroen C-zero , Fisker Karma, Ford Focus Electric, Ford C-Max Energi, Mia, Mia Electric Van, Mitsubishi-1 Miev, Mitsubishi Outlander Phev, Nissan NV200 SE Van, Nissan Leaf, Peugeot lon, Renault Fluence, RenaultKangoo, Smiths Edison Van, Smiths Newton, Tata Indica Vista EV, Toyota Prius, Vauxhall Ampera
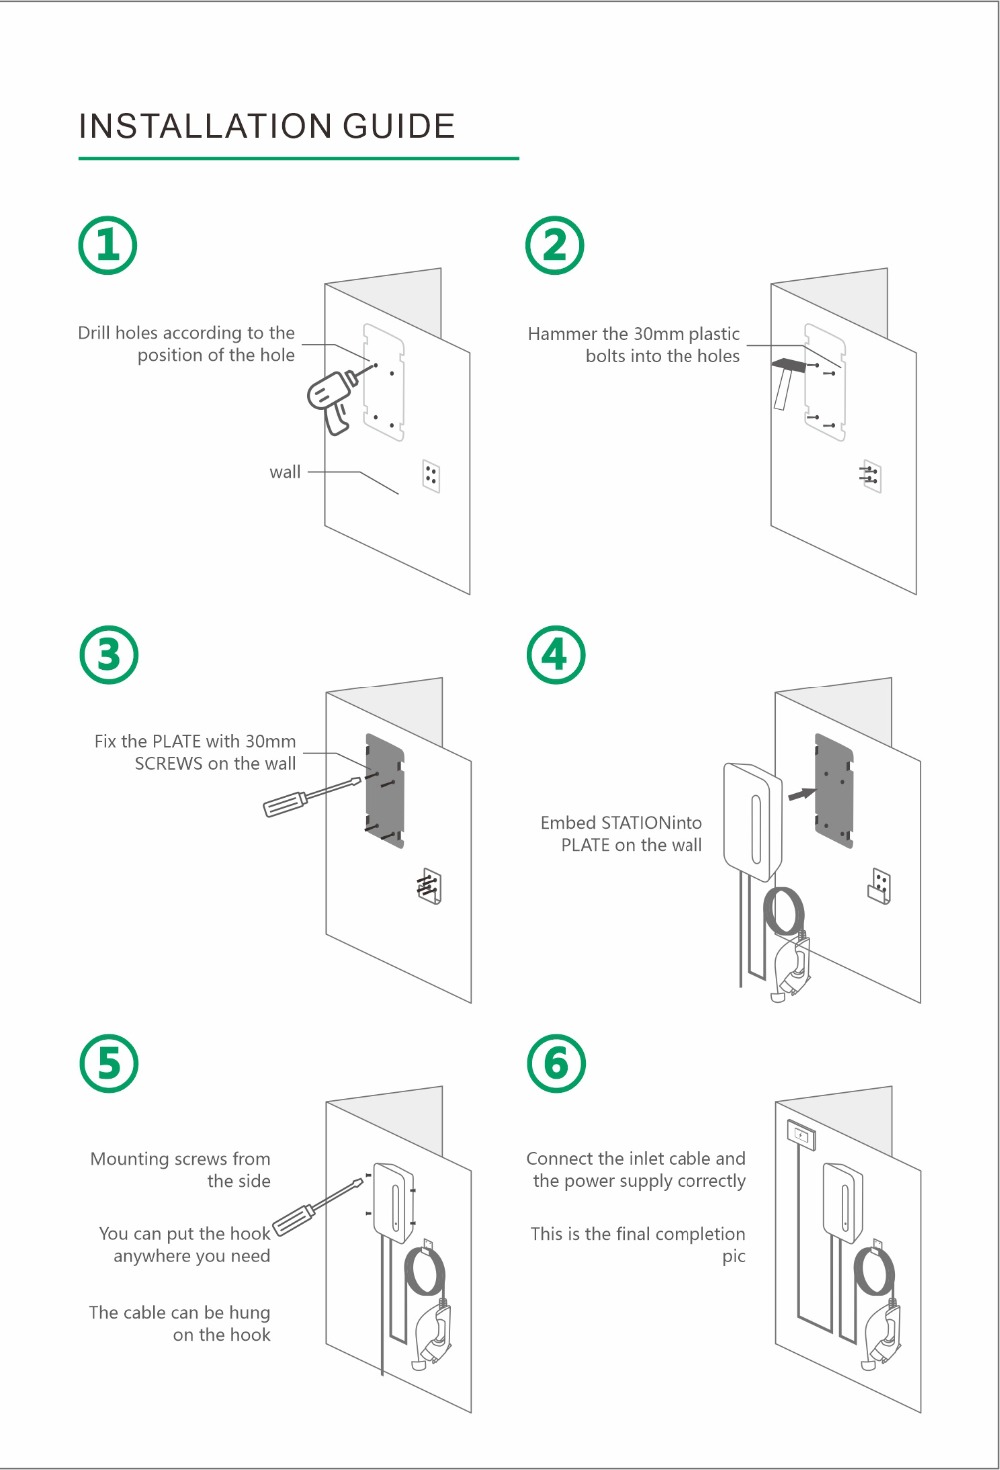
Installation Guide:
1. Drill holes according to the position of the hole
2. Hammer the 30mm plastic bolts into the holes
3. Fix the plate with 30mm screws on the wall
4. Embed station into plate on the wall
5. Mounting screws from both sides. You can put the hook anywhere you need. The cable can be hung on the hook
6. Connect the inlet cable and the power supply correctly. This is the final completion pic
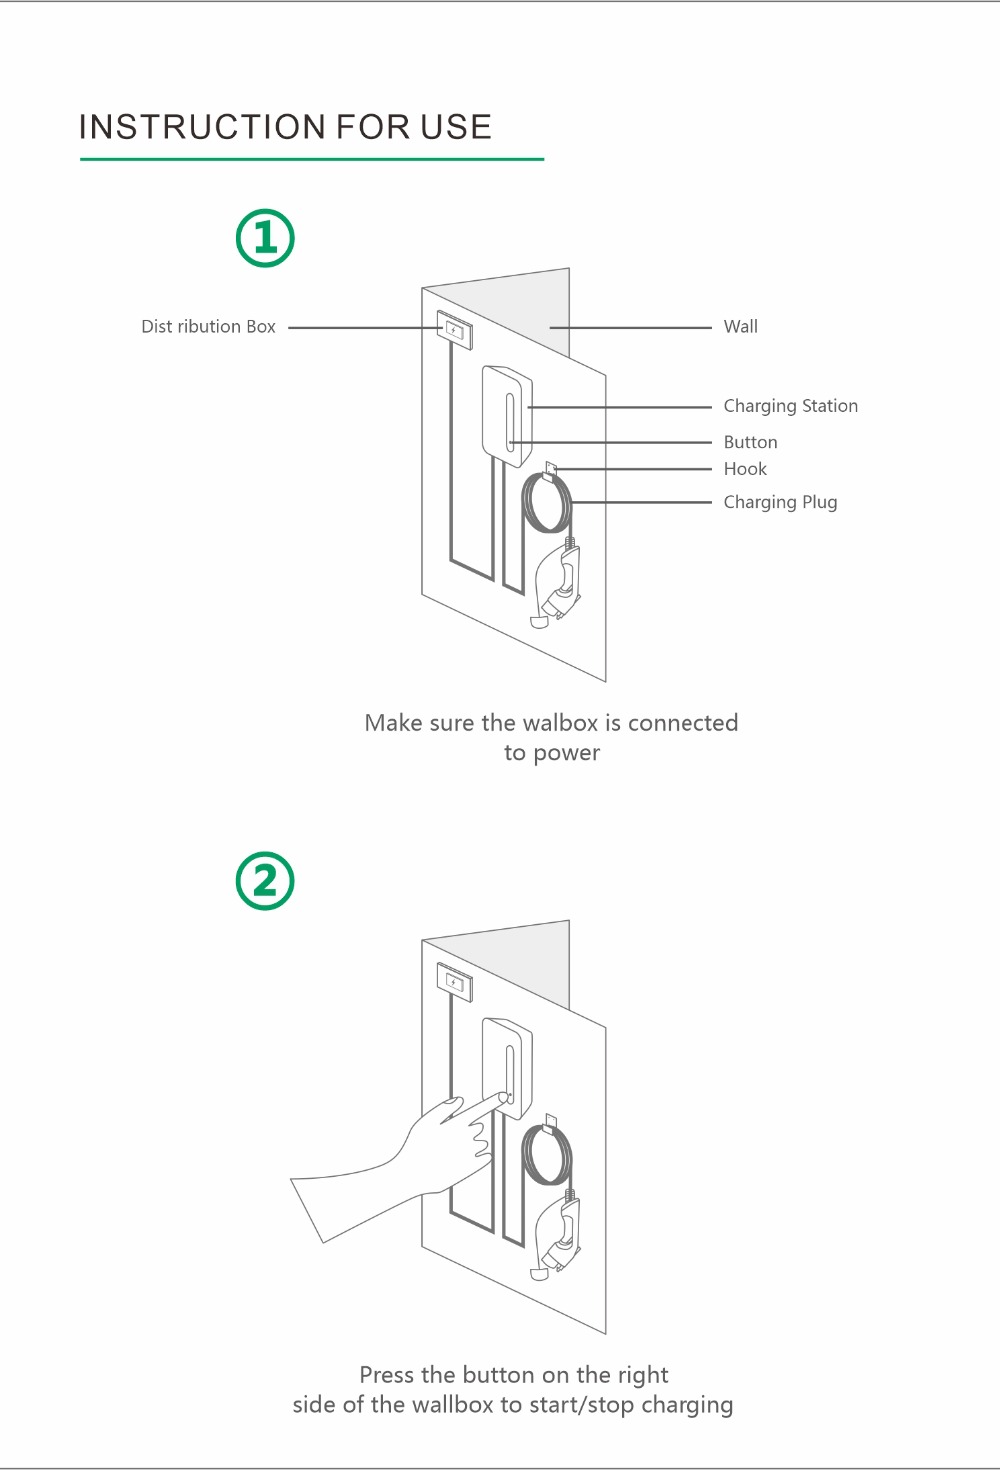
Instruction For Use:
1. Make sure the wall box is connected to the power
2. Press the button on the right side of the wallbox to start/stop charging
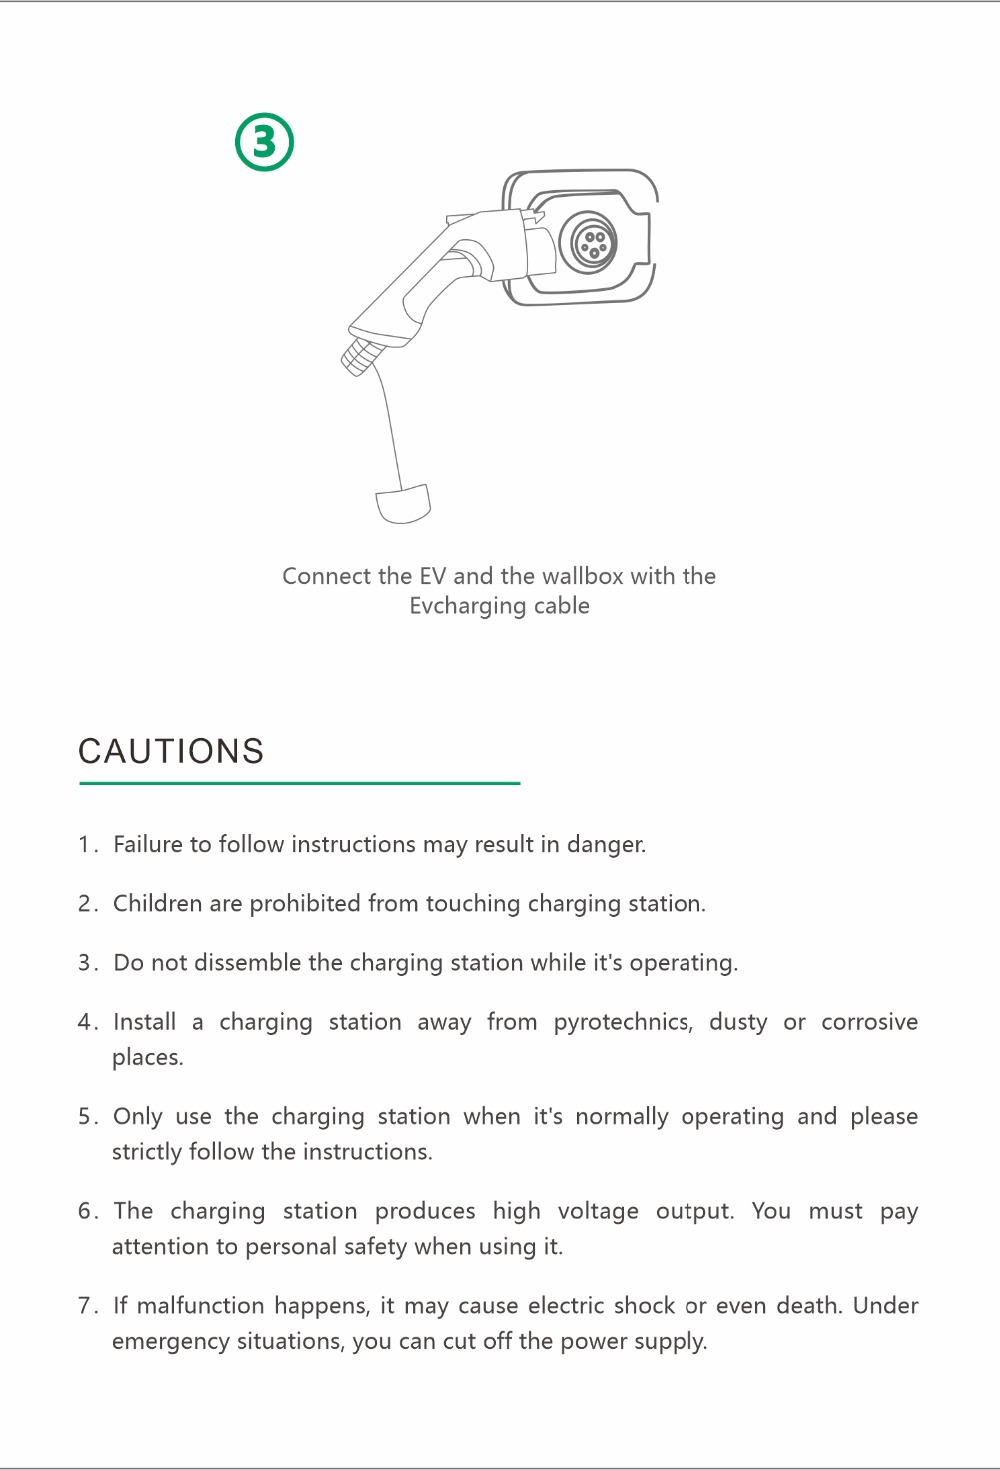
3. Connect the EV and the wallbox with the EV charging plug



WARRANTY INSTRUCTION:
We have done simulation test according to the design requirements and technical standard before equipment consignment. From the day of purchase, any quality problem of the product can be reflected to the dealer within 12 months.
Any direct damage or malfunction caused by neglect, incorrect use/installation, repair by the users or natural damage are not covered by the warranty.



RM47085554674295636
